Journal Entry 5, LCEForum 2017: Lantern Making with Gowri Savoor
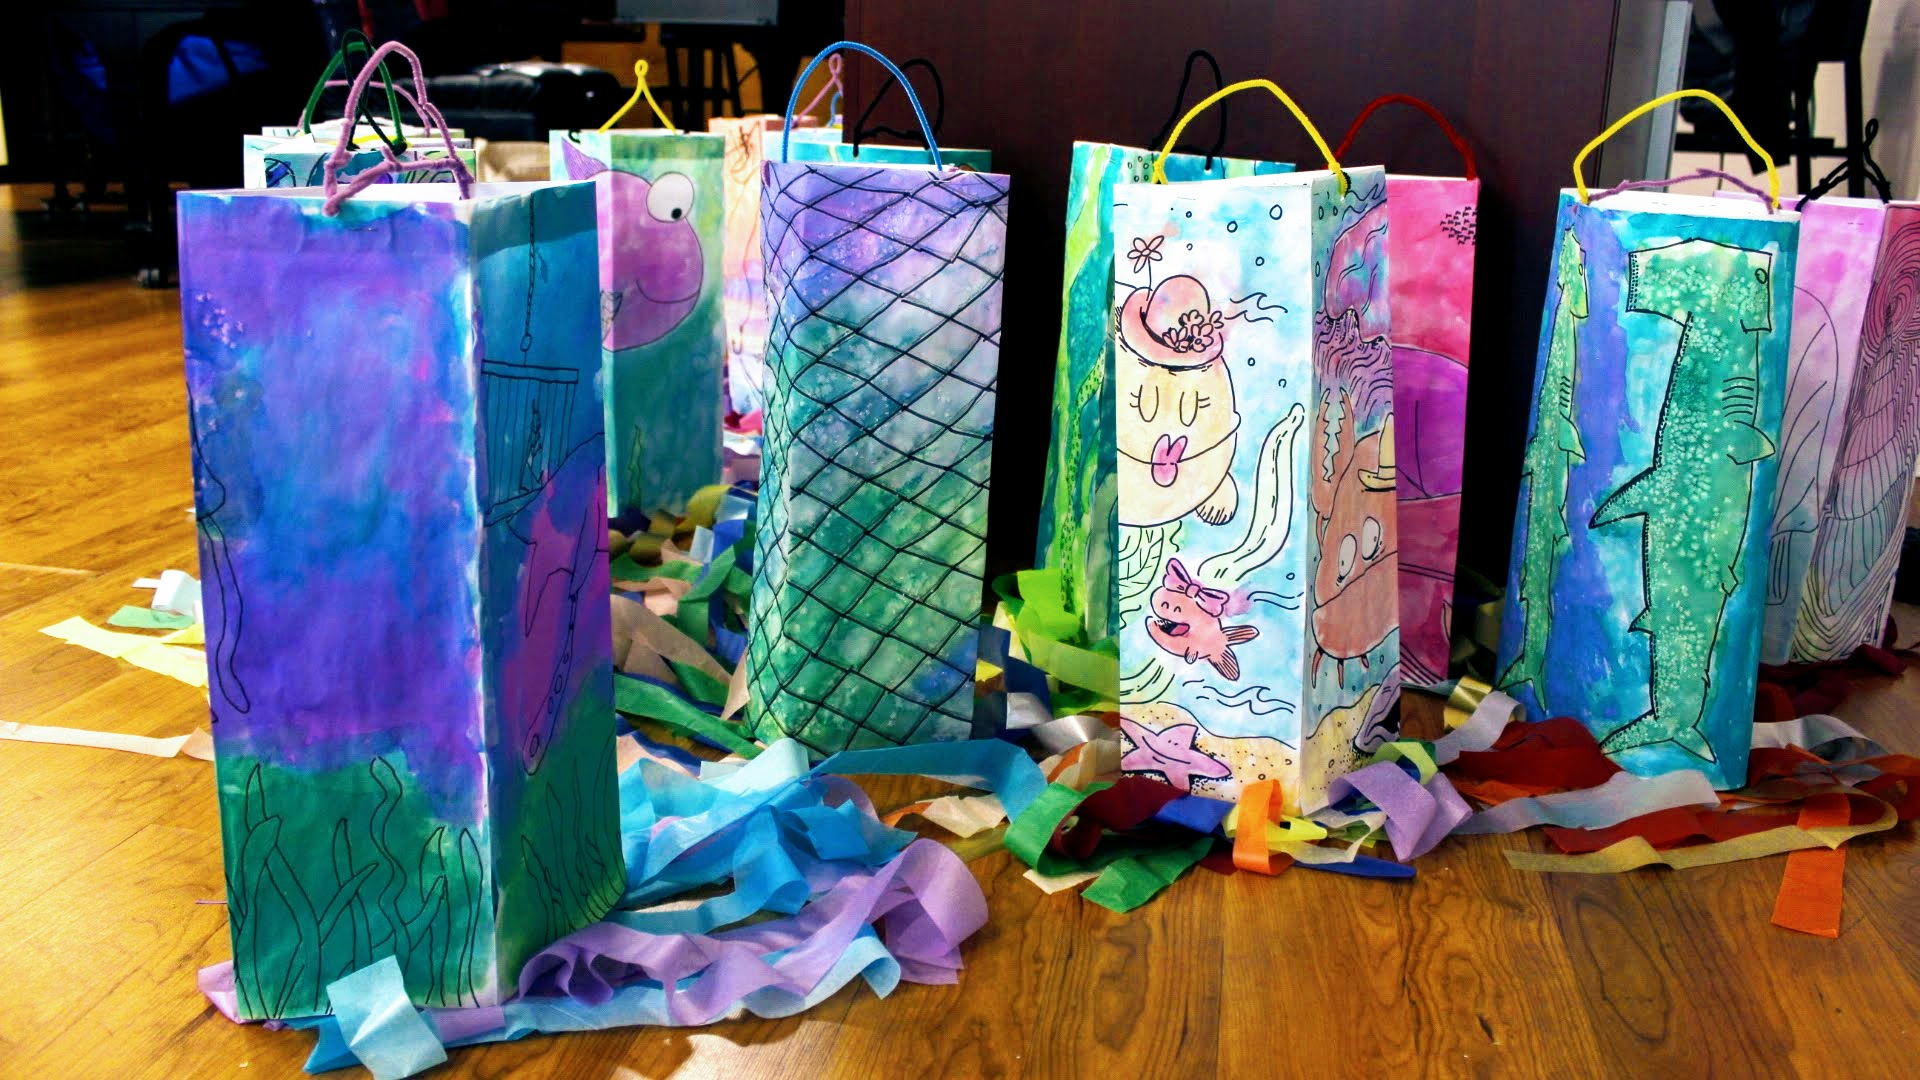
Gowri Savoor is a visual-teaching artist who not only finds expression through sculpture, drawing and rangoli but an also loves parades. She explains that parades bring people together. Parades provide people with a great sense of empowerment when reclaiming the streets, it connects people to their environment mobilising through activism or celebration. Today, we (the TA’s at the Lab) were going to make lanterns with kids and elderly at the Lincoln Square Community Center.
Our goal was to facilitate the making of the lanterns and ensure that participants feel successful in the activity and experience a sense of achievement through completing the project. Through making something with their hands they could experience a sense of satisfaction and experiment in making something 3-D that served to be part of something bigger than themselves. That something would be our parade at the end of the day.
This is a project that would typically take place as multiple sessions over 6 week period (1 hour x 6 sessions), but we were doing all of the things that day! You said it, hold onto your hats, ladies and gentleman we’re in for ride, TA’s bring your A-game and flexibility (LCE’s equivalent resilience and willingness to adapt). So to break it down I’m going to split this post into two: 1) the making process as a step by step guide (because Gowri’s designed a beautiful project, every step had been thought out) and 2) day and activity reflections of my experience.
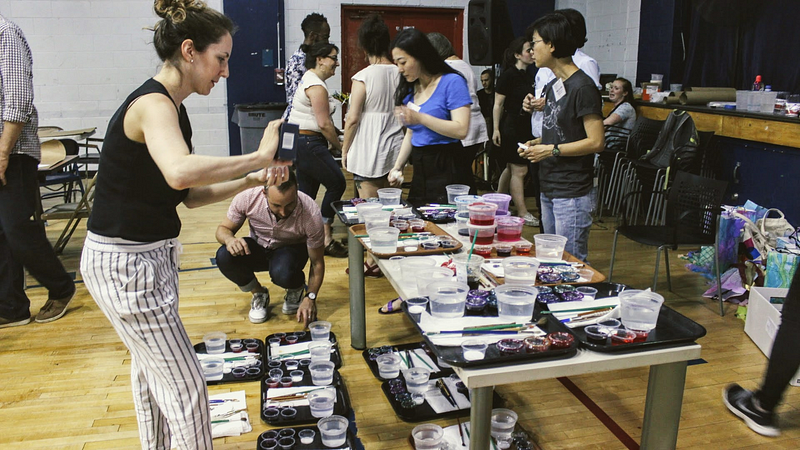
How to Make Epic Paper Lanterns?
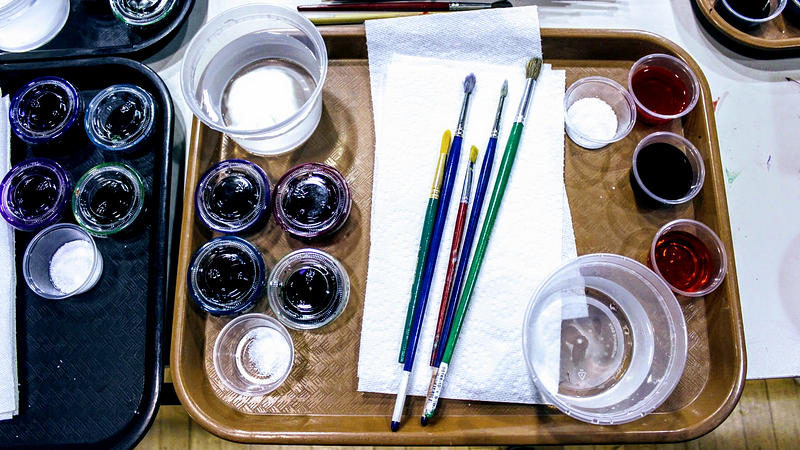
Materials (for 1 lantern):
- Scratch paper
- Pencil, Eraser, Sharpie, Pencil Sharpner
- Sax Concentrated Watercolour paints
- Containers for water and mixing paints (yogurt containers, cut plastic bottles, plastic/paper cups will do)
- Paint Brushes
- 1 x 19" x 24" Vellum Sheets
- 2 x Pipe cleaners
- Paper towels
- Salt
- Hole punch & Stapler
- 2 x (1" x 28") Card stock strip
- 1 inch strips of tissue paper
- 20 gauge steel Wire, willow & electrical tape
Constructing your Lantern:
Step 1: Choose a theme. For example: undersea creatures, outer-space, wild animals etc.
Step 2: Use your scratch paper and pencil to map out a design inspired by the theme.
Step 3: Once you are sure of your basic idea, prepare to map it out on your large Vellum sheet. Lightly fold your page into corners to demarcate your quadrants. Lightly only press the top and bottom, avoid creating solid vertical creases, this prevents the paint from seeping to the folds.
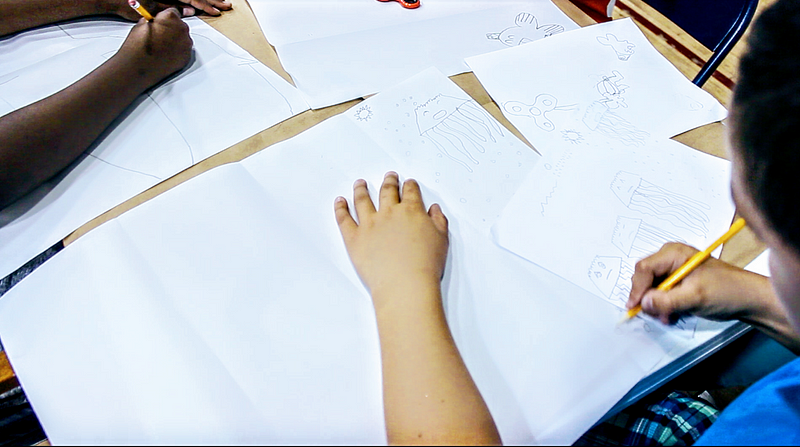
Step 4: Trace over your lines with sharpie to finalise your design. Add any detail lines in sharp that you want to keep. The pencil won’t be very visible.
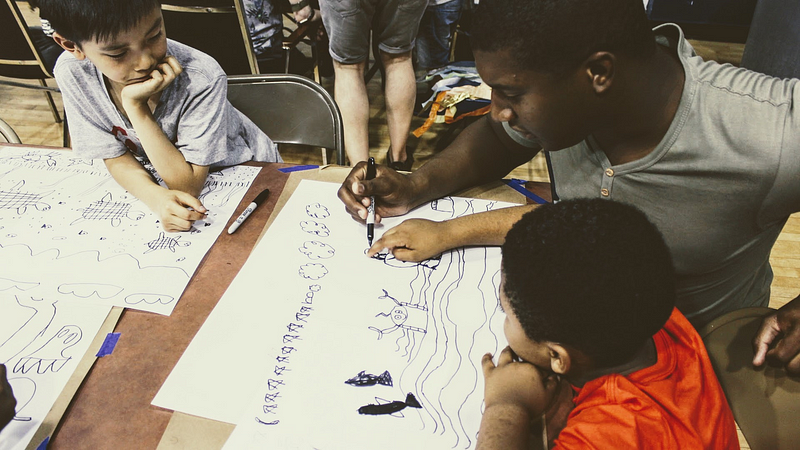
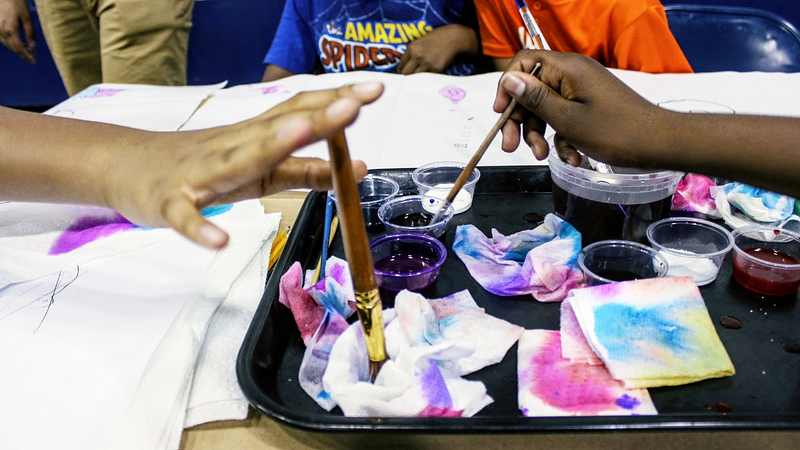
Step 5: Dip your brush in water as lightly wet the part of your canvas that you will immediately work with before adding the pigment. Work in sections from one part of your canvas until your entire canvas is coloured to your liking.
Step 6: Use the paper towels to dab any excess paint you may have on your canvas.
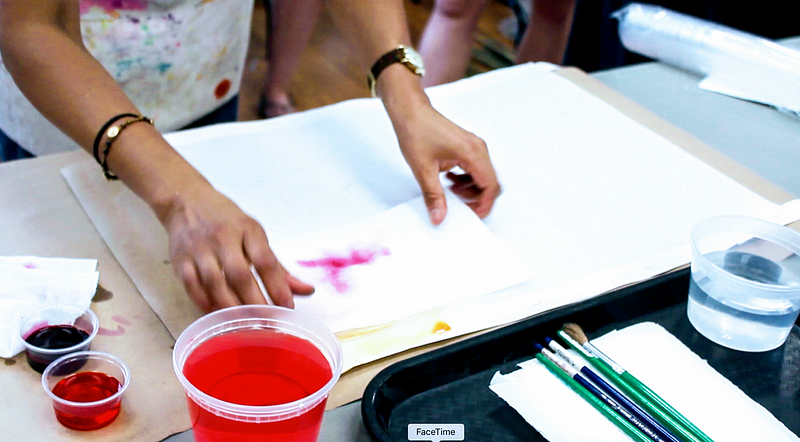
Pro-tip 1: Rinse your brush in water and dry it off on the paper towel before dipping it in another colour, this was you can avoid making a mush of colour.
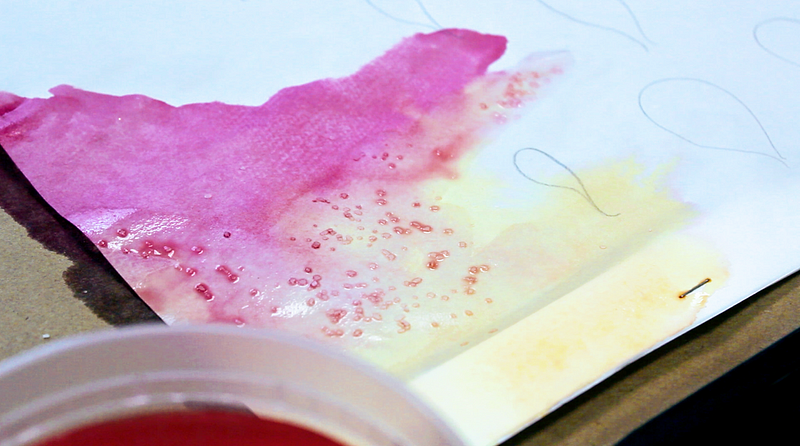
Pro-tip 2: Sprinkle kosher salt onto your wet canvas to achieve a speckling effect.
Step 7: Once you have completed colouring your canvas set it aside to dry.
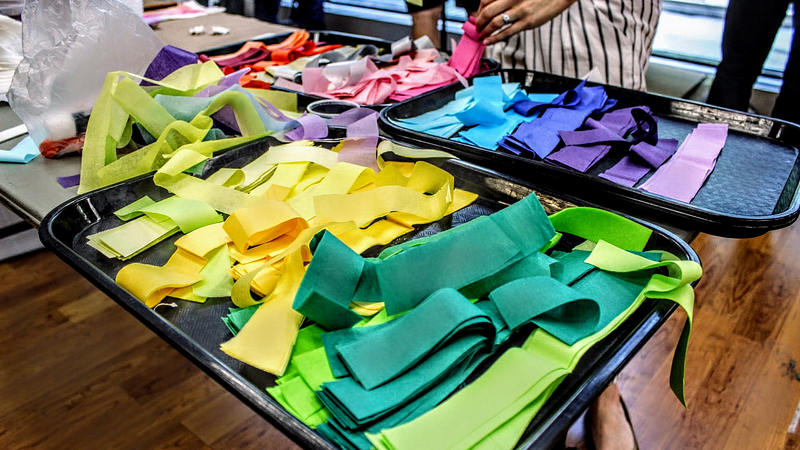
Step 8: Take your you card stock strips and strips of tissue paper and glue the tissue paper to the card stock, almost as if to make a skirt.
Step 9: Staple your skirt to the bottom edge of your lantern, keep the left and bottom edges flush. Do the same with the second strip along the top.
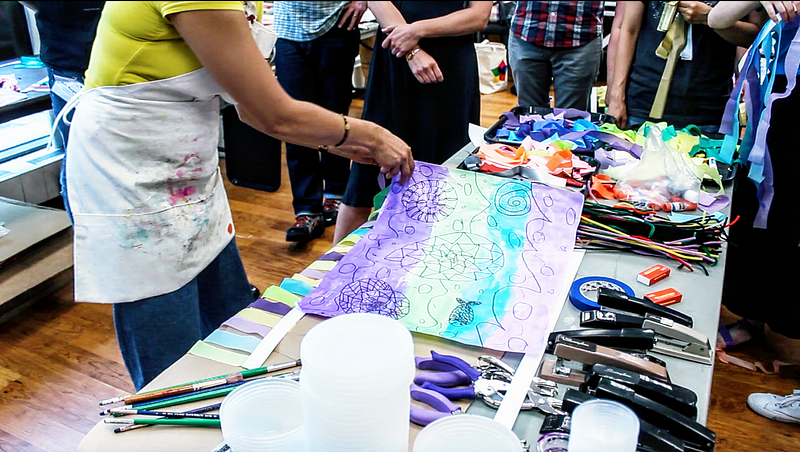
Step 10: Fold your canvas in half. Then open it and flip it so that your colour side is face down. Fold your two vertical sides to the centre to make quadrants and tape the two sides that require joining together. Fold the excess cardboard on the inside of the lantern and staple for extra integrity.
Step 11: Use the hole punch to make two holes in the top of your lantern on opposite sides. Take your 1 pipe cleaner fold in half. Then take the centre point, twist it to make a loop with two “a-frame” legs.
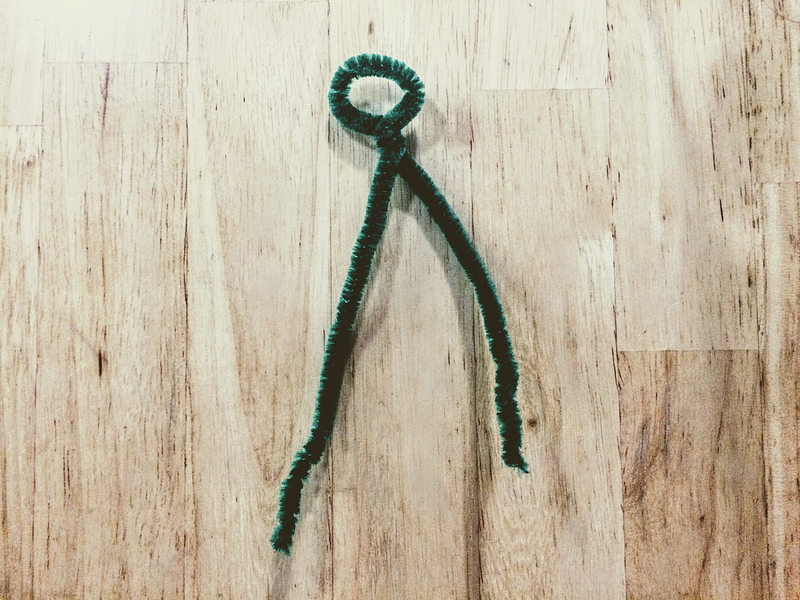
Step 12: Fold your lantern so that your take your second pipe-cleaner and lay it horizontally across your “a-frame”, twisting the A-frame legs around the horizontal pipe cleaner.
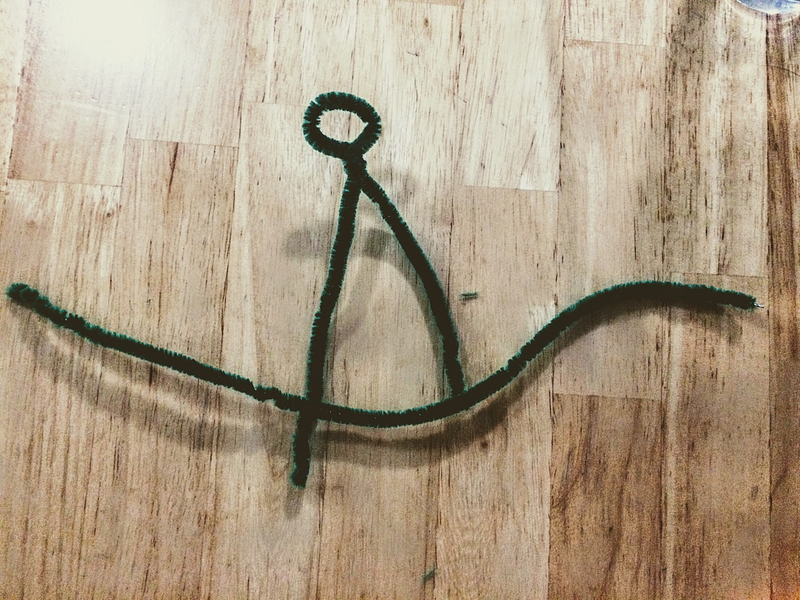
Step 13: Feed the pipe cleaner through the holes on the top of your lantern and attach the ends to itself, as if to twist a knot.
Step 14: Cut 10" wire, fold it in half and use electrical tape to secure it onto a rod of willow. Then bend a hook onto the end so that you can attach your lantern.
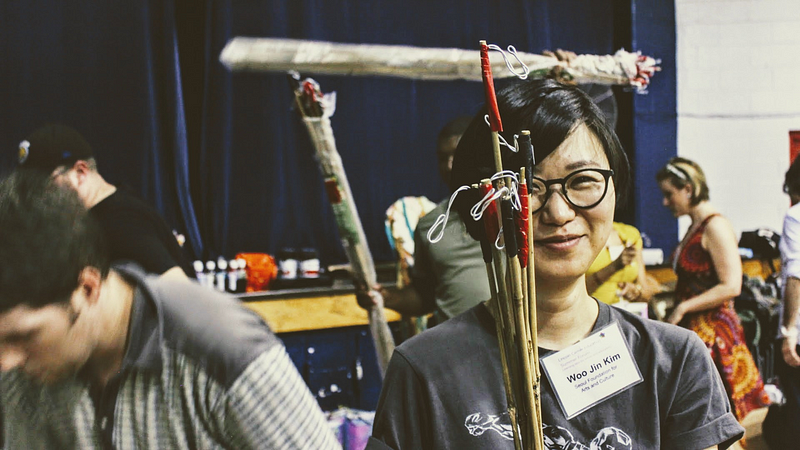
Step 15: Attach your lantern to your road and viola! You’re ready to take to the streets.
Reflections From the workshop & parade:
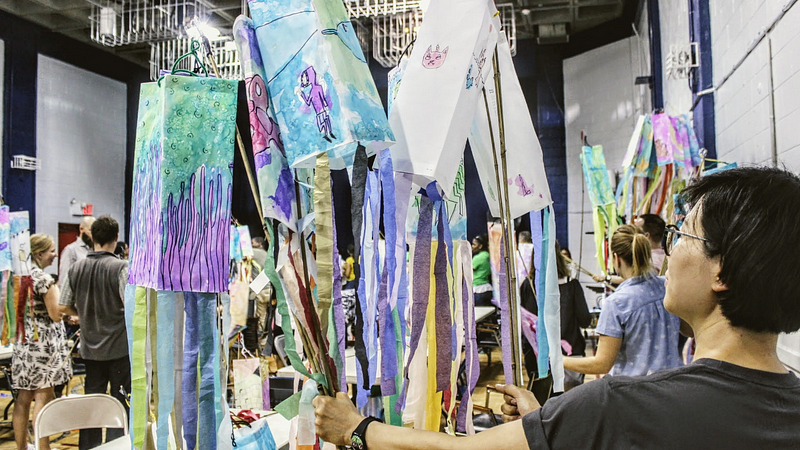
As crazy busy as the day was, we completed making the lanterns, and as the kids got ready to take to the streets the teaching artists finished up their lanterns and put them on rods. When we revealed the finished products to the kids, their were gasps of excitement and wonder as the clutched their lanterns, ready for the parade.
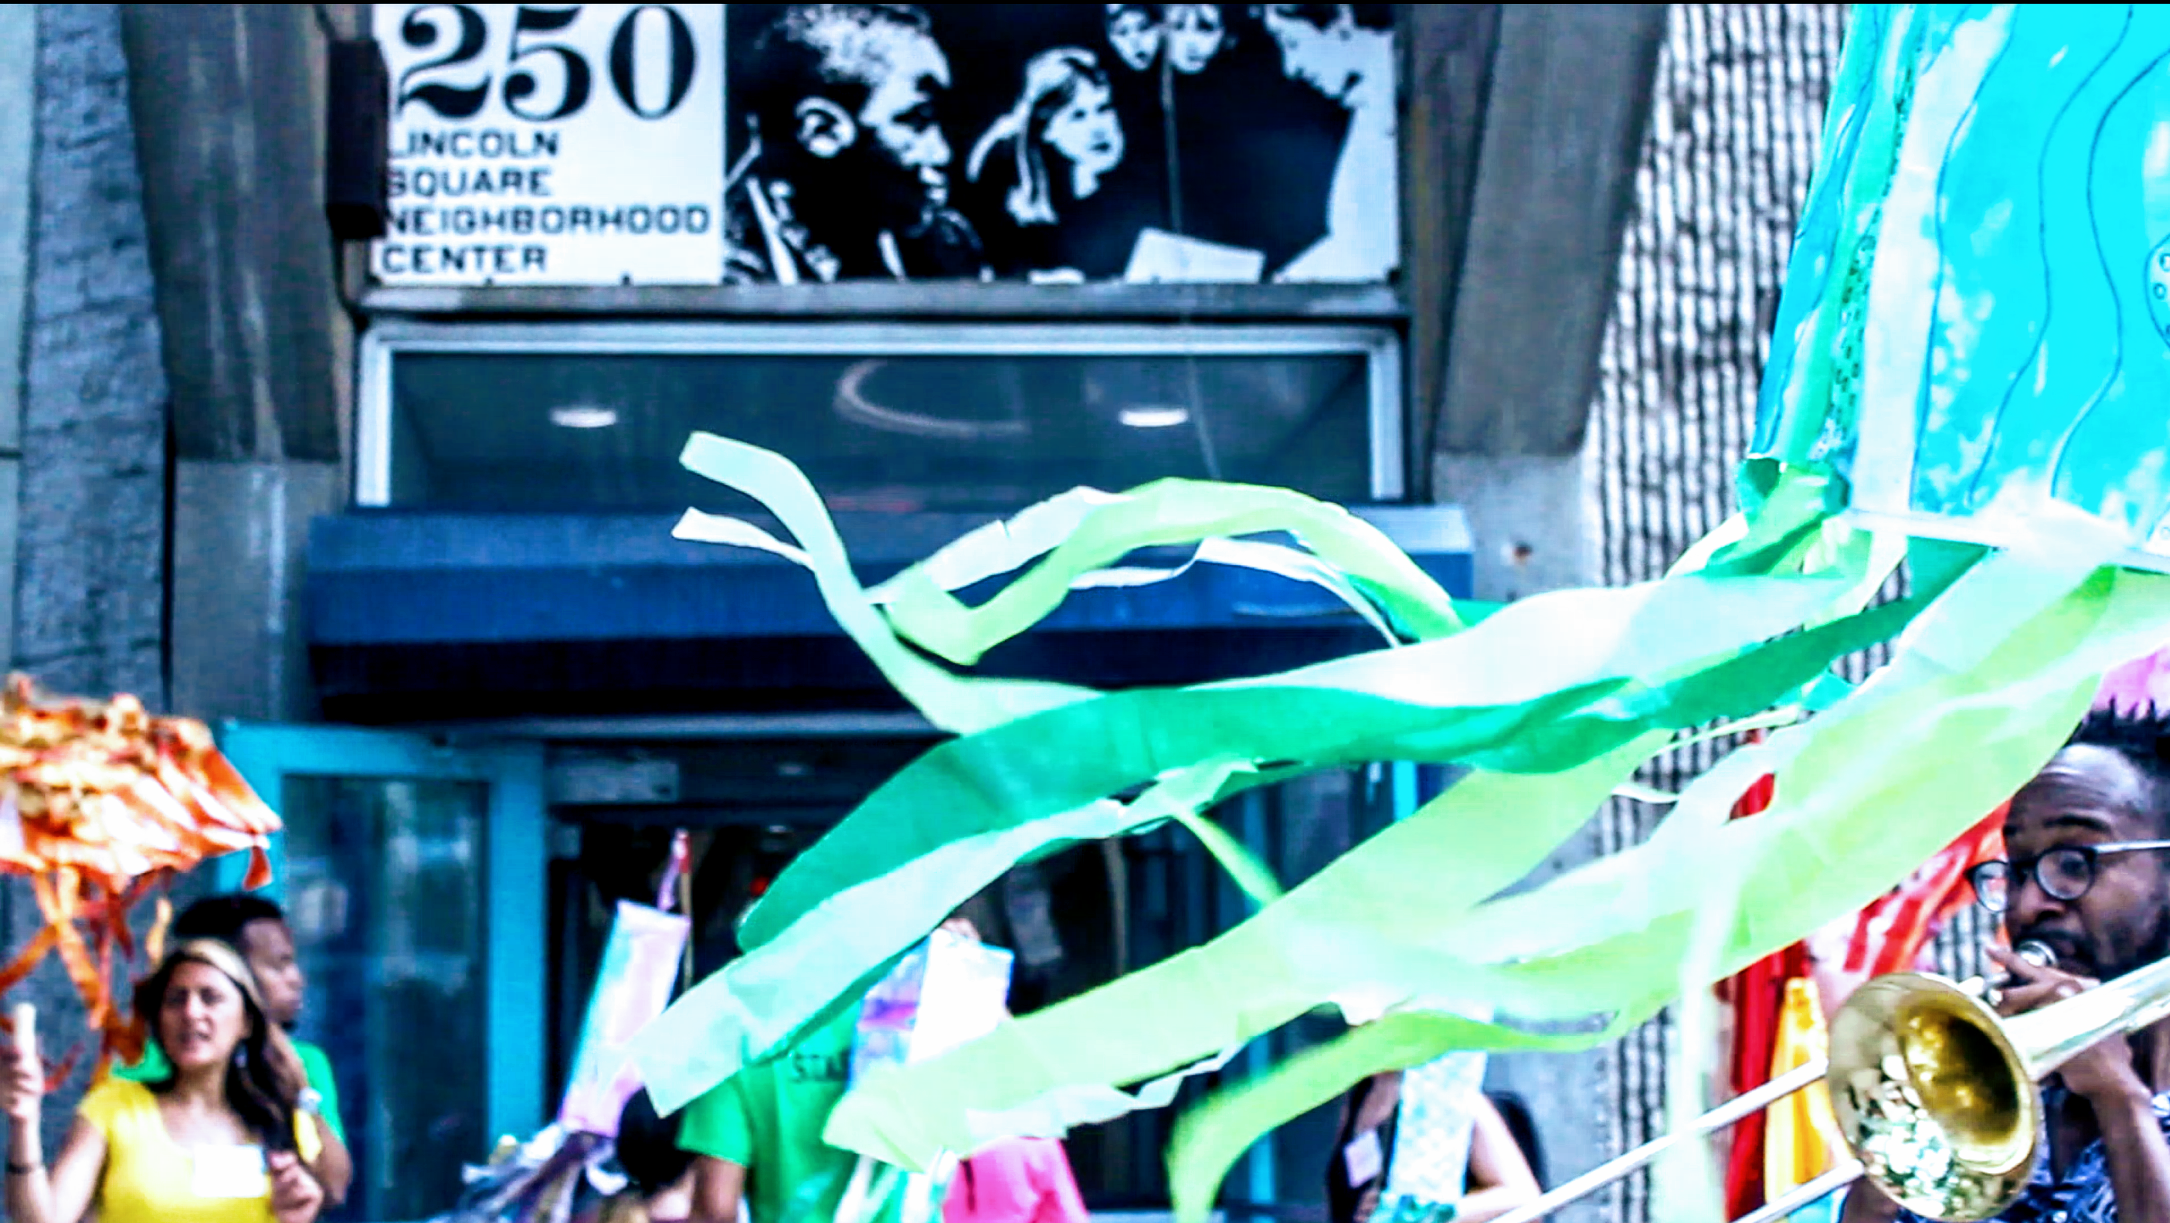
Some of our musically inclined TA’s has had put together a marching band for us and lead the way as we rushed to the streets, marching to tunes like Oh when the saints…We paraded about Lincoln Squares Fountain adding colour to the monochrome cityscape on a sticky New York summer’s afternoon. Some kids wanted to go back, because they were hot others were excited to “makes the street look nice” and “bring joy to the people” I heard another kid ask “is this legal? do we have a permit?”.
With large groups designing the layout of space and the way in which bodies move through space is always challenging. But given the speed at which we tackled a relatively complex activity, I think it is something that could have aided us significantly, and free us of time while facilitating the workshop. It would have been preferable for multiple reasons to have more time, more time to interact with the participants, more time to spend on the actual skill building and community building aspect.
But our goal was to facilitate the participants in successfully making lanterns and in doing so feel a sense of accomplishment in the given time we had. Being part of something bigger than yourself was achieved through participating in the parade. Although it wasn’t perfect, the mark of achieving that goal was a band full kids and TA’s alike, parading to Lincoln Square and on their washing sidewalks of New York city in a sea of colour, bringing joy to the people even for a little while, the city was theirs.
